


This blog describes the installation steps for ODK Central on an Oracle Cloud Compute box.
ODK, or Open Data Kit, is an open-source platform used to build tools for collecting, managing, and using data in resource-constrained environments. It offers a set of free and customizable tools that allow users to create forms, collect data through mobile devices, and analyze the gathered information. ODK simplifies data collection, making it more efficient and accessible, particularly in areas with limited connectivity or technological resources.
Following these steps, please read my Collect Offline Form Submissions with ODK & Synchronize with APEX blog to setup a basic EMP Form. Submissions to this new form will appear in APEX
Steps
Check you have a x86_64 processor (doesn't work on Ampere/Arm) Compute. I go for the Previous Gen VM.Standard.E2.1 as, for me, it's got the blend of performance and price 😉 If you want something more meaty, go for the VM.Standard.E4.Flex
uname -mShould return
x86_64If not, do not continue with this guide until you have built an AMD Compute. Here is a guide on how to create one
On you domain/dns settings, create a subdomain to ODK like this. I'm using Cloudflare

Install Git
sudo dnf install git -yOpen ports 80 & 443 using this method by following this guide
Install Docker-CE & Docker Compose by following this guide
Install ODK Central
 # Download the software
 git clone https://github.com/getodk/central
 # Go into the new central folder:
 cd central
 # Get the latest client and server:
 git submodule update -i
 # copy the settings template file so you can edit it
 cp .env.template .env
Edit the env
nano .envChange only the domain name & email address

CTRL+X to save the file
Touch the file upgrade file
touch ./files/allow-postgres14-upgradeBuild it (this took 6 mins on my E2.1)
docker compose buildThen compose it.
docker compose up -dWait 2 minutes and run this
docker ps --filter "name=central-nginx-1"what we are looking for is for central-nginx-1 to say
(healthy)If it's starting, give it a few minutes. If it's restarting, then start to be concerned. Anything else is not good.
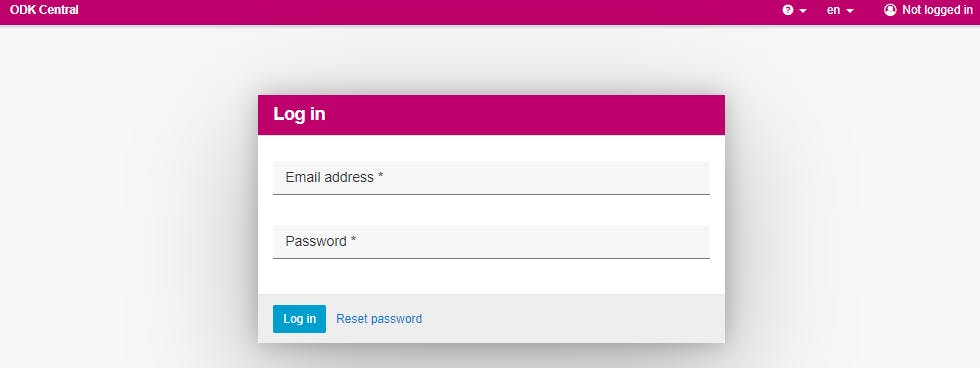
When it is healthy, visit your domain name - just to test if it loads. Do not attempt to log in just yet.
Modify this command to your email address and then run it.
export EMAIL_ADDRESS="YOUREMAIL@ADDRESSHERE.com"Run the following and set a user/password. Tip: Make it a very complex password.
docker compose exec service odk-cmd --email $EMAIL_ADDRESS user-createMake yourself an Admin
docker compose exec service odk-cmd --email $EMAIL_ADDRESS user-promoteYou should now be able to log in
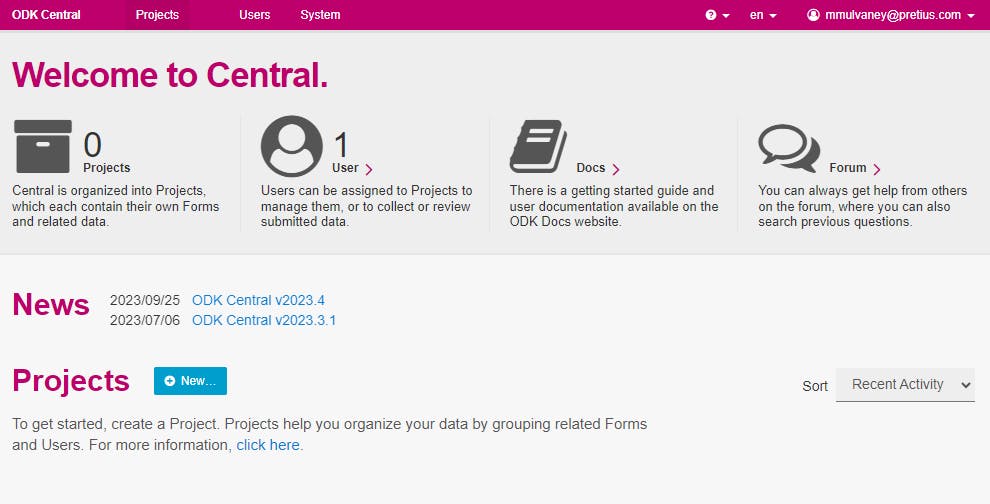
If you forget your password just run
export EMAIL_ADDRESS="YOUREMAIL@ADDRESSHERE.com"
docker compose exec service odk-cmd --email $EMAIL_ADDRESS user-set-password
ENJOY!
Whats the picture? A small wood near Burn Bridge. Visit Yorkshire!