Nginx Proxy Manager is a powerful, open-source application that simplifies the management of Nginx reverse proxy configurations. It provides an intuitive web-based interface for users to easily create and manage proxy hosts, handle SSL certificate management, and route incoming traffic to various backend services.
In this blog post, I'll guide you through the practical steps to set up Nginx Proxy Manager on Oracle Cloud Compute. I'll also show you how to use Cloudflare for a 15-year origin certificate, enable SSL encryption, and deploy a simple containerized web server to greet visitors with a basic message. While this tutorial will help you secure your website and enable SSL, it can also serve as a foundation for more complex applications, such as WordPress.
Let's get started on enhancing your website's security and performance.
Install Nginx Proxy Manager
You'll need an Oracle Compute box. If you don't have one, get one here.
https://mattmulvaney.hashnode.dev/create-a-compute-instance-on-oracle-cloudGet Docker-ce installed using this method. https://mattmulvaney.hashnode.dev/docker-not-podman-docker-compose-for-oracle-compute
Open ports 80, 81 & 443 using this method.
https://mattmulvaney.hashnode.dev/opening-ports-for-an-oracle-compute-instanceInstall nano
sudo dnf install nano -yCreate a nginx-proxy-manager.yml file
nano nginx-proxy-manager.ymlPaste in the following
 version: '3.8'
 services:
   app:
     image: 'jc21/nginx-proxy-manager:latest'
     restart: unless-stopped
     ports:
       - '80:80'
       - '81:81'
       - '443:443'
     volumes:
       - ./data:/data
       - ./letsencrypt:/etc/letsencrypt
     container_name: nginx-proxy-manager
CTRL+X to save the file
Start the container
docker-compose -f nginx-proxy-manager.yml up -dFind the login link
 external_ip=$(curl -s ipconfig.io)
 echo "Now go to http://$external_ip:81"
In your browser go to the link it tells you
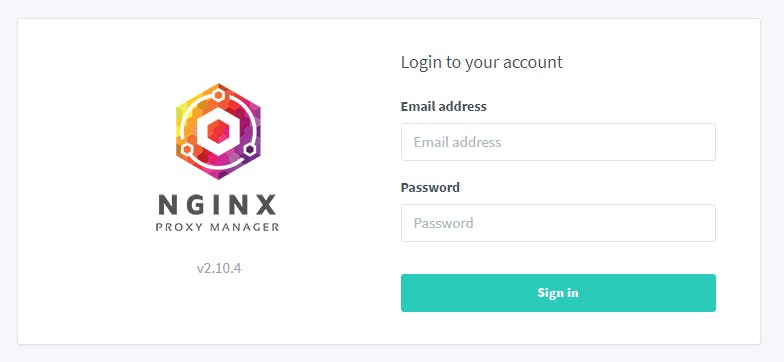
Log in with
username: admin@example.com
password: changeme
Follow the instructions to change your username and password. You'll now log in with these details.
Domain Configuration
We have to set some things up in your domain. I'm using Cloudflare. So you'll have to find the correct settings for your provider.
Log in to Cloudflare Dashboard
Set an A records for your domain name (do not include www.) e.g snescentral.com

Ensure the Proxy Status is orange/Proxied (see picture above)
In SSL/TLS Ensure that the SSL/TLS encryption mode is Full

Click SSL/TLS > Origin Server > Create Certificate
Ensure it is valid for 15 years and click Create

Copy the Origin Certificate into a file called cert.pem
Copy the Private Key into a file called key.pem
Click on the Cloudflare logo

Click on Zero Trust > follow the steps to set it up for free
Click on Access > Tunnels > Create Tunnel
Give it a tunnel name e.g my-tunnel
Click Save Tunnel
Click on Redhat

Copy the first box to the clipboard and paste it into your compute box to run it.
It should now be connected

Click Next
Configure it like this... ensure you pick your domain name

Click Save Hostname
Congratulations: You can now use **dashboard.**yourdomain.com to access the admin panel

Configure Nginx Proxy Manager
Click on SSL Certificates
Click Add SSL Certificate (not the big pink button but the smaller white one in the top right corner)
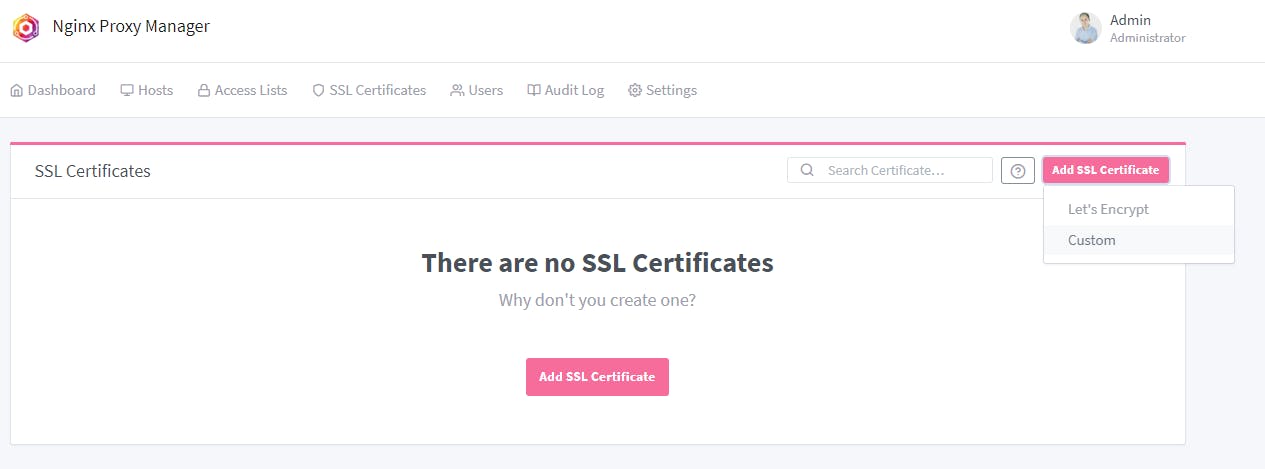
Click Custom
Enter the details below selecting the key.pem and cert.pem files you picked earlier
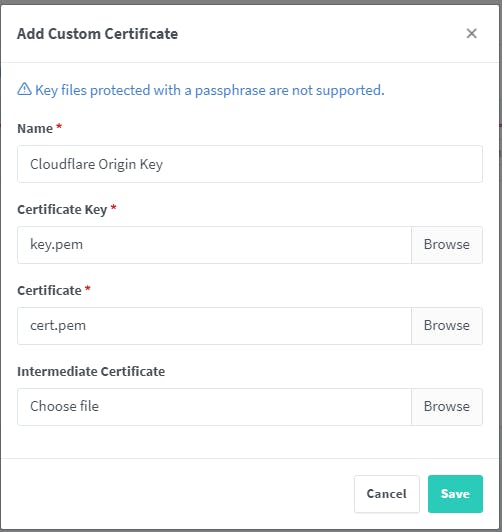
Click Save
We need something to land on, so let's create a small Hello World webserver. Note, I know Nginx Proxy Manager created a network called opc_default, so I'm going to add this container to that network
 docker run -P -d \
 -p 6080:80 \
 -p 6443:443 \
 --network opc_default \
 --name hello-world \
 nginxdemos/hello
Click Dashboard > Proxy Hosts > Add Proxy Host
Complete as per the picture and add your domain name e.g. snescentral.com
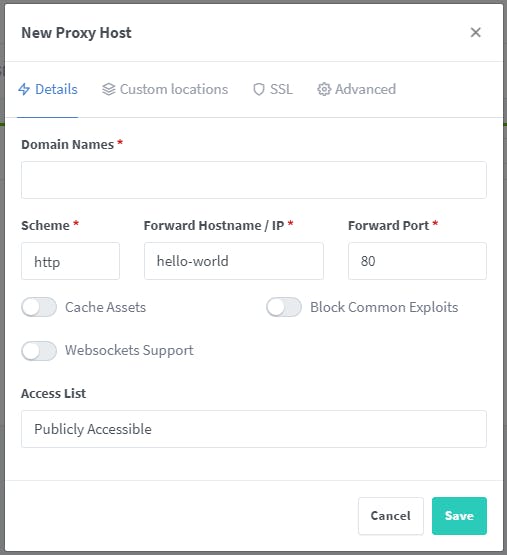
Switch to SSL and select your SSL Certificate

Click Save
Try out your domain name in your browser
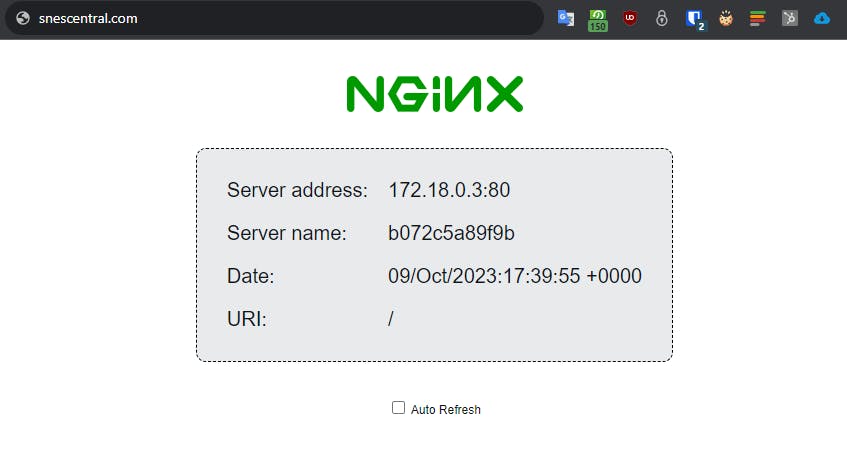
You smashed it. Your domain is running on SSL with 15 years of certificates on a demo website
Typically you'll replace the hello-world demo with a Wordpress site or similar. But we have got the foundations all setup now.
Credits: A massive thanks to Artur Morawski for his guidance. Without his help, I would've probably gone insane.
Whats the picture? Its Ripley Castle again. Visit Yorkshire!

