Keycloak installation for Oracle Compute with Custom Domain + APEX Configuration
Keycloak is a robust open-source identity and access management solution for securing web applications and services. It offers a range of authentication and authorization features, making it a valuable tool for safeguarding your resources.
In this blog, I'll guide you through the process of setting it up and then I'll provide a link where you can integrate it seamlessly with Oracle APEX.
Keycloak needs SSL, so you need a custom domain (unconfirmed: or a self-signed certificate). The easiest way to get Keycloak working on Oracle Compute
Steps
Install Nginx Proxy Manager using this guide (including the recommended Docker installation)
https://mattmulvaney.hashnode.dev/nginx-proxy-manager-on-oracle-cloud-compute-custom-domain-sslCreate a keycloak-compose.yml file
nano keycloak-compose.ymlPaste in the following - If you are using Dev
 version: '3'
 services:
   keycloak:
     image: quay.io/keycloak/keycloak:latest
     ports:
       - "8280:8080"
     environment:
       - KEYCLOAK_ADMIN=admin
       - KEYCLOAK_ADMIN_PASSWORD=admin
       - PROXY_ADDRESS_FORWARDING=true
       - KC_FEATURES=scripts
     command:
       - start-dev
       - --features=scripts
       - --proxy=edge
       - --hostname-strict=false
       - --hostname-strict-https=false
     container_name: opc-keycloak-1
or this version, for production
Notes: theKC_HOSTNAMEmust be the full URL, e.gkeycloak.example.comversion: '3' services: keycloak: image: quay.io/keycloak/keycloak:25.0.1 ports: - "8280:8080" environment: - KC_DB=postgres - KC_DB_URL=jdbc:postgresql://postgresdb:5432/keycloak - KC_DB_USERNAME=keycloak - KC_DB_PASSWORD=strong_password_here - KC_HOSTNAME=full-keycloak-url.your_domain.com - KEYCLOAK_ADMIN=admin - KEYCLOAK_ADMIN_PASSWORD=admin - KC_PROXY=edge - KC_FEATURES=scripts command: - start - --features=scripts - --proxy=edge container_name: opc-keycloak-prod depends_on: - postgresdb postgresdb: image: postgres:16 environment: - POSTGRES_DB=keycloak - POSTGRES_USER=keycloak - POSTGRES_PASSWORD=strong_password_here volumes: - postgres_data:/var/lib/postgresql/data container_name: opc-keycloak-postgres volumes: postgres_data:Then start docker-compose
docker-compose -f keycloak-compose.yml up -dIn your Domain Administration page (I'm using Cloudflare) create a proxied A type subdomain as keycloak and point it at the Public IP address of your Compute box

Note: If you've forgotten your Public IP address. Take a look here
Visit your Nginx Proxy Manager admin page

Reminder: If you followed the guide in the first step, you might've used a dashboard subdomain
Click Proxy Hosts > Add Proxy Host
Add your domain name e.g. keycloak.snescentral.com and complete the form as per the picture below
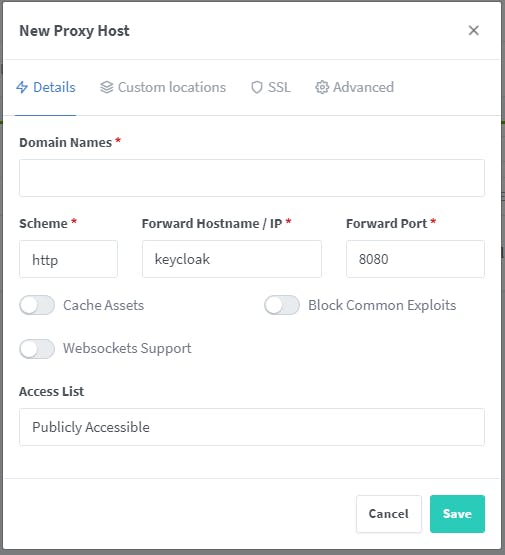
Switch to Custom locations and complete the form as per the picture below
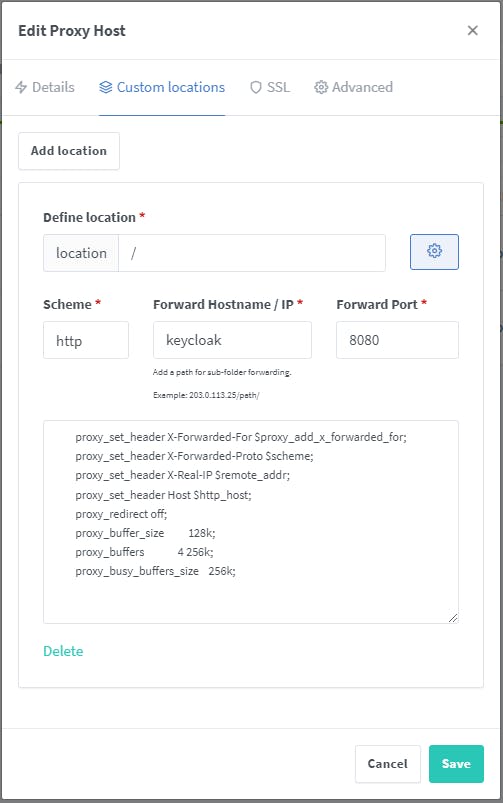
For the configuration, use this
         proxy_set_header X-Forwarded-For $proxy_add_x_forwarded_for;
         proxy_set_header X-Forwarded-Proto $scheme;
         proxy_set_header X-Real-IP $remote_addr;
         proxy_set_header Host $http_host;
         proxy_redirect off;
         proxy_buffer_size          128k;
         proxy_buffers              4 256k;
         proxy_busy_buffers_size    256k;
Switch to SSL and select your SSL Certificate
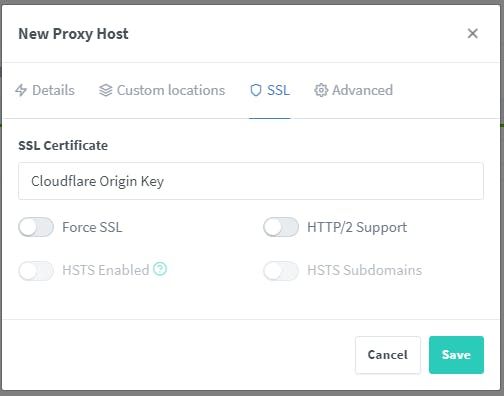
Click Save
Try out your subdomain name in your browser. You should see the below.
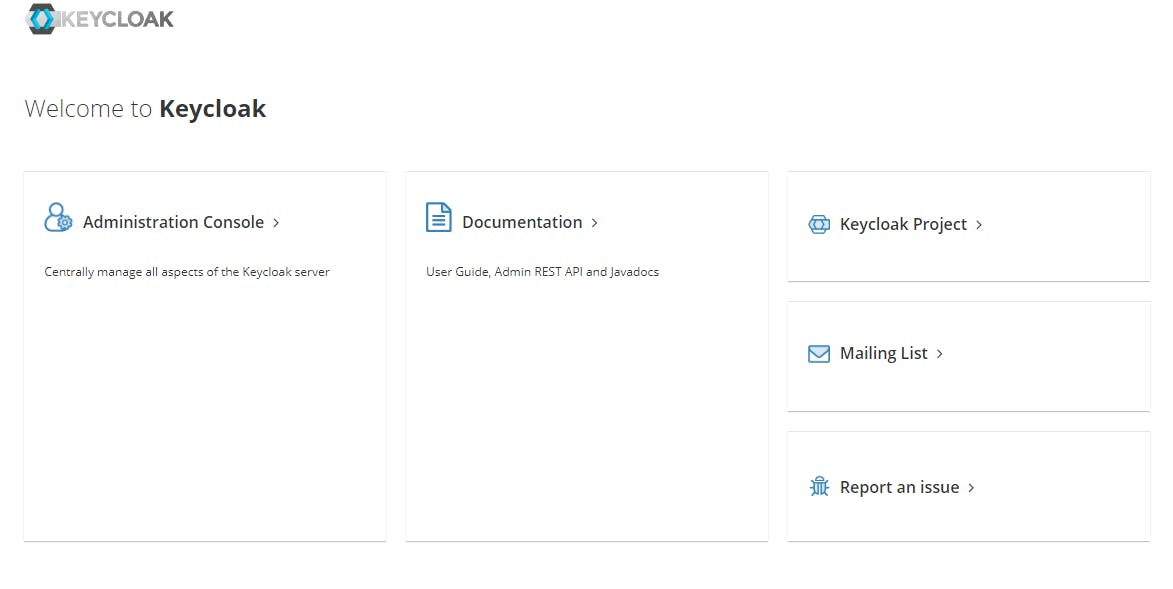
Click on Adminstration Console
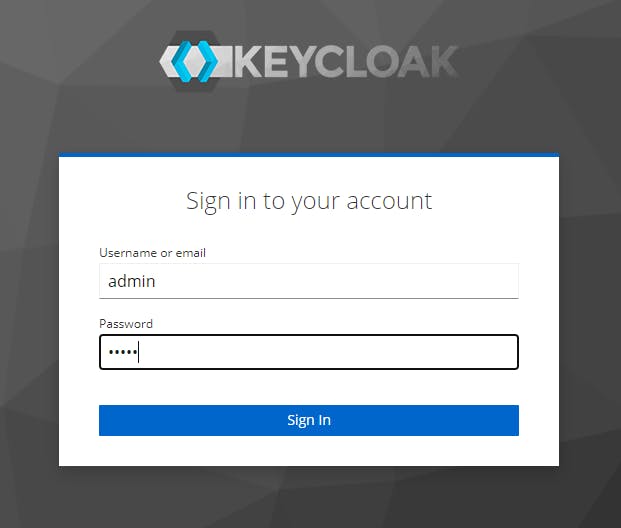
Sign in with the following details
username: admin
password: admin
Click Admin > Manage Account > Signing in
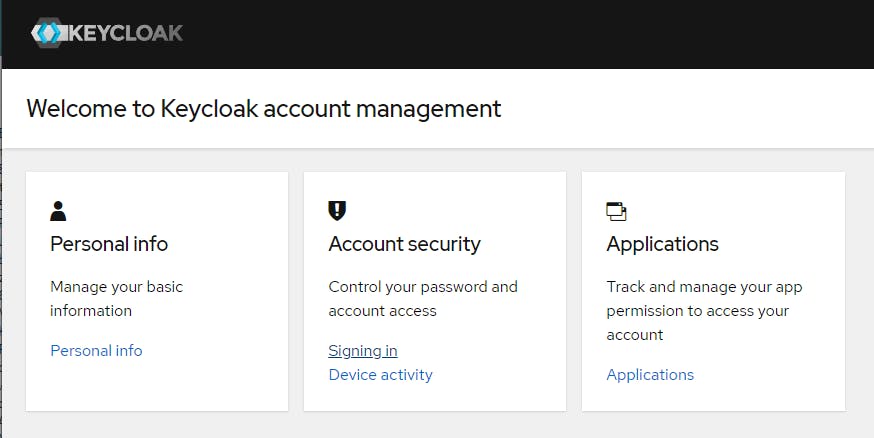
Click on Update and change your password
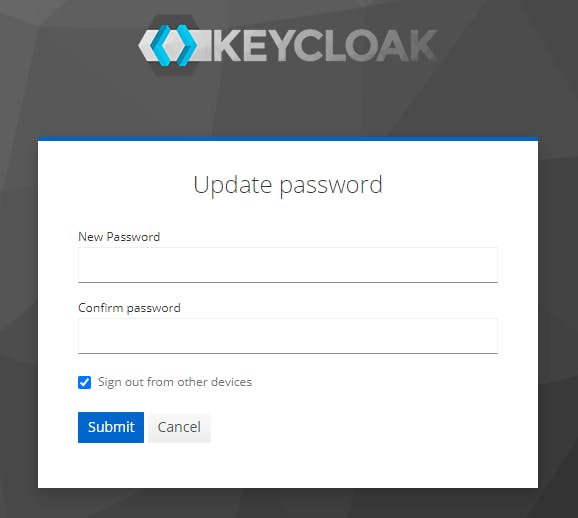
Click Submit
ENJOY!
Next Steps: Configure Keycloak Authentication with APEX
https://mattmulvaney.hashnode.dev/keycloak-authentication-with-apex
Whats the picture: Yorkshire. Visit Yorkshire!

