Oracle 23c Free Docker, APEX & ORDS all in one simple guide
Up and running with APEX in 23c


The VM Appliance already contains these tools, however this guide provides the tools required to get up and running with APEX in docker.
The guide provides:
Oracle 23c Free Database
ORDS latest (24.1 at time of writing)
Open JAVA 17 JDK
APEX latest (23.2 at time of writing)
If you are quick at copy/pasting, you can rattle through the setup in 30mins - from step 3
Let's start...
Mac: Install Brew/Colima/Docker by following this guide by Rafal first before continuing
Windows: Ensure Docker is running & start Docker Desktop
Unix: Ensure Docker is installed or install it belowdocker versionor install it like this
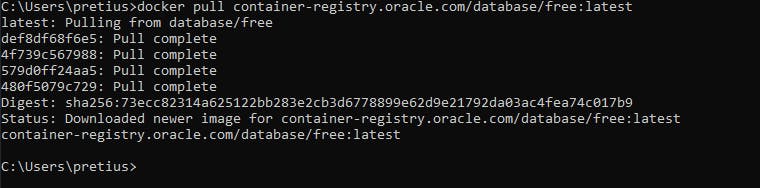
sudo yum install docker -yDrop in to command line (i.e terminal or windows+r, cmd) and type the following (it'll take about 15mins to complete) and it'll unpack to 10.5GB on your HDD
docker pull container-registry.oracle.com/database/free:latestIt will look like this when complete
Then we need to run it... (I changed ports to 8xxx to avoid conflicts with my other docker images).
docker run -d -it --name 23cfree -p 8521:1521 -p 8500:5500 -p 8023:8080 -p 9043:8443 -p 9922:22 -e ORACLE_PWD=E container-registry.oracle.com/database/free:latestNow we enter bash
docker exec -it 23cfree /bin/bashThen run this to get APEX (1min)
curl -o apex-latest.zip https://download.oracle.com/otn_software/apex/apex-latest.zipunzip it & enter the apex folder (1min)
 unzip apex-latest.zip
 rm apex-latest.zip
 cd apex
Make a coffee - seriously, let the DB settle for a few mins.
Open SQL*Plus with sqlplus / as sysdba
sqlplus / as sysdbalike this...
 bash-4.4$ sqlplus / as sysdba

 SQL*Plus: Release 23.0.0.0.0 - Developer-Release on Wed Apr 5 13:27:32 2023 Version 23.2.0.0.0

 Copyright (c) 1982, 2023, Oracle. All rights reserved.

 Connected to: Oracle Database 23c Free, Release 23.0.0.0.0 - Developer-Release Version 23.2.0.0.0
Set the PDB
ALTER SESSION SET CONTAINER = FREEPDB1;Then run the APEX installer below. This will install APEX (10mins). Note if you get a PLS-00201: identifier 'SYS.DBMS_DB_VERSION' must be declared error, just keep re-trying this step until it works. It'll settle down within a few minutes.
@apexins.sql SYSAUX SYSAUX TEMP /i/Unlock the public user account
ALTER USER APEX_PUBLIC_USER ACCOUNT UNLOCK;Then change the password
ALTER USER APEX_PUBLIC_USER IDENTIFIED BY E;Change the password. Run the following and follow the steps. Note: you must use a complex password
@apxchpwd.sqlType exit to exit SQL*Plus
Make these folders
mkdir /home/oracle/software
mkdir /home/oracle/software/apex
mkdir /home/oracle/software/ords
mkdir /home/oracle/scripts
Copy the APEX images & change folder
cp -r /home/oracle/apex/images /home/oracle/software/apex
cd /home/oracle/
Drop in to superuser
suThen install sudo
cat /dev/null > /etc/dnf/vars/ociregion
dnf update -y
dnf install sudo -y
install nano
dnf install nano -yEdit the sudo list
nano /etc/sudoersin the Defaults section add
Defaults !lectureAt the very end of the file add
oracle ALL=(ALL) NOPASSWD: ALLCtrl+X and save the file
Install JAVA (3mins)
dnf install java-17-openjdk -ySetup ORDS folders & check JAVA - 1min
mkdir /etc/ords
mkdir /etc/ords/config
mkdir /home/oracle/logs
chmod -R 777 /etc/ords
java -version
This should say...
openjdk version "17.0.6" 2023-01-17 LTS
OpenJDK Runtime Environment (Red_Hat-17.0.6.0.10-3.el8_7) (build 17.0.6+10-LTS)
OpenJDK 64-Bit Server VM (Red_Hat-17.0.6.0.10-3.el8_7) (build 17.0.6+10-LTS, mixed mode, sharing)
Whilst still as su, Install ORDS
yum-config-manager --add-repo=https://yum.oracle.com/repo/OracleLinux/OL8/oracle/software/x86_64
dnf install ords -y
Then configure ORDS
export _JAVA_OPTIONS="-Xms512M -Xmx512M"
ords --config /etc/ords/config install
It will then give the the following selection. Choose option 3
  Enter a number to select the TNS net service name to use or specify the database connection
    [1] EXTPROC_CONNECTION_DATA SID=PLSExtProc
    [2] FREE         SERVICE_NAME=FREE
    [3] FREEPDB1     SERVICE_NAME=FREEPDB1
    [S] Specify the database connection
  Choose [1]: 3
It will then ask for the database user name with administrator privileges. Choose user SYS and password E
  Provide database user name with administrator privileges.
    Enter the administrator username: SYS
  Enter the database password for SYS AS SYSDBA: E
It will then display the following menu
Retrieving information.
ORDS is not installed in the database. ORDS installation is required.

  Enter a number to update the value or select option A to Accept and Continue
    [1] Connection Type: TNS
    [2] TNS Connection: TNS_NAME=FREEPDB1 TNS_FOLDER=/opt/oracle/product/23c/dbhomeFree/network/admin
           Administrator User: SYS AS SYSDBA
    [3] Database password for ORDS runtime user (ORDS_PUBLIC_USER): <generate>
    [4] ORDS runtime user and schema tablespaces:  Default: SYSAUX Temporary TEMP
    [5] Additional Feature: Database Actions
    [6] Configure and start ORDS in Standalone Mode: Yes
    [7]    Protocol: HTTP
    [8]       HTTP Port: 8080
    [9]   APEX static resources location:
    [A] Accept and Continue - Create configuration and Install ORDS in the database
    [Q] Quit - Do not proceed. No changes
  Choose [A]:
Choose option 9 - APEX static resources location.
When prompted, enter the following...
/home/oracle/software/apex/imagesNext type A to continue
ORDS will then configure. It will take 1-2 mins and finally load and finally show...
2024-04-15T15:30:27.922Z INFO        Oracle REST Data Services initialized
Oracle REST Data Services version : 24.1.0.r0960841
Oracle REST Data Services server info: jetty/10.0.20
Oracle REST Data Services java info: OpenJDK 64-Bit Server VM 17.0.10+7-LTS
Do a quick test in a new browser tab localhost:8023/ords/apex and then close the tab down.
FYI: Prior to ORDS 23.2 (read here), you just use the URL localhost:8023/ords
Ctrl+C to quit ORDS
Create a start_ords.sh file
nano /home/oracle/scripts/start_ords.shThen paste in
export ORDS_HOME=/usr/local/bin/ords
export _JAVA_OPTIONS="-Xms512M -Xmx512M"
LOGFILE=/home/oracle/logs/ords-`date +"%Y""%m""%d"`.log
nohup ${ORDS_HOME} --config /etc/ords/config serve >> $LOGFILE 2>&1 & echo "View log file with : tail -f $LOGFILE"
Create a stop_ords.sh file
nano /home/oracle/scripts/stop_ords.shThen paste in
kill `ps -ef | grep [o]rds.war | awk '{print $2}'`FYI - DON'T RUN THIS NOW : You can run them manually like this (as su)
# Commented for Reference
# sh /home/oracle/scripts/start_ords.sh
# sh /home/oracle/scripts/stop_ords.sh
Create an ORDS startup script
nano /opt/oracle/scripts/startup/01_auto_ords.shpaste in the below
sudo sh /home/oracle/scripts/start_ords.shType exit to quit out of docker and back to your local machine.
exitIf you are using docker on Unix (i.e not Windows/Mac), you'll need to enable linger (source #17)
loginctl enable-linger $UIDStop your docker container (I like using the GUI) & then start it again.. this is to activate the auto ords starter script we just created
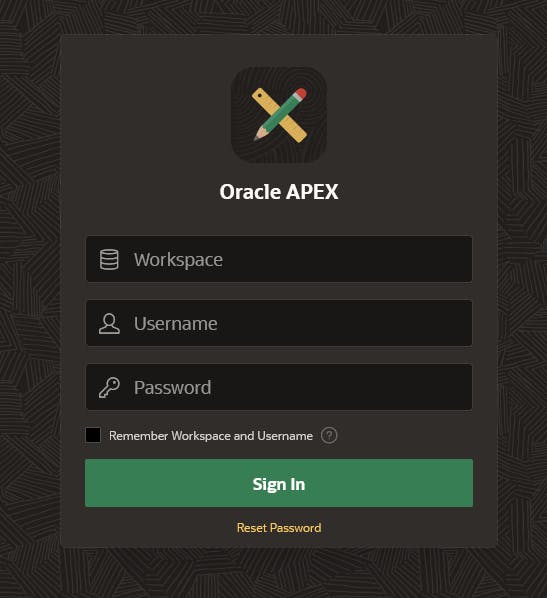
docker restart 23cfreeWait 60 seconds, then try logging in at
localhost:8023/ords/apexWorkspace > INTERNAL Username > ADMIN Password > The Complex PasswordENJOY!